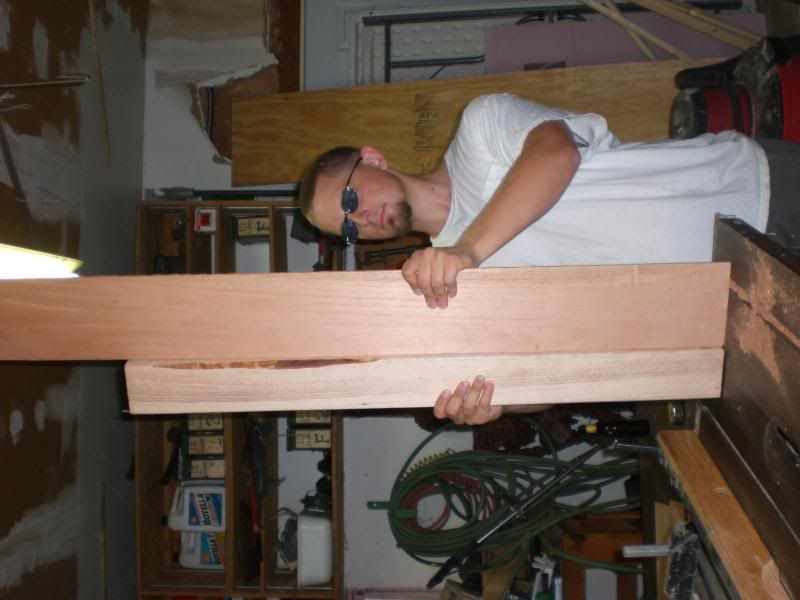
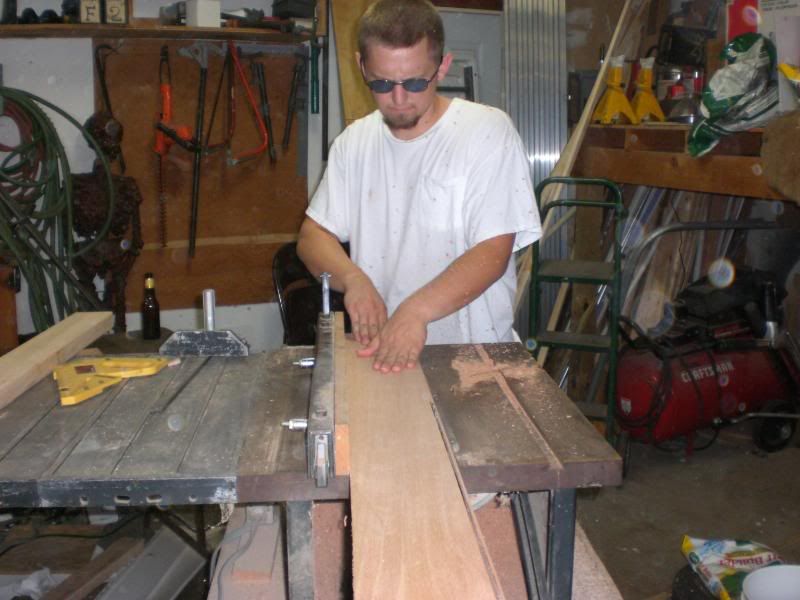
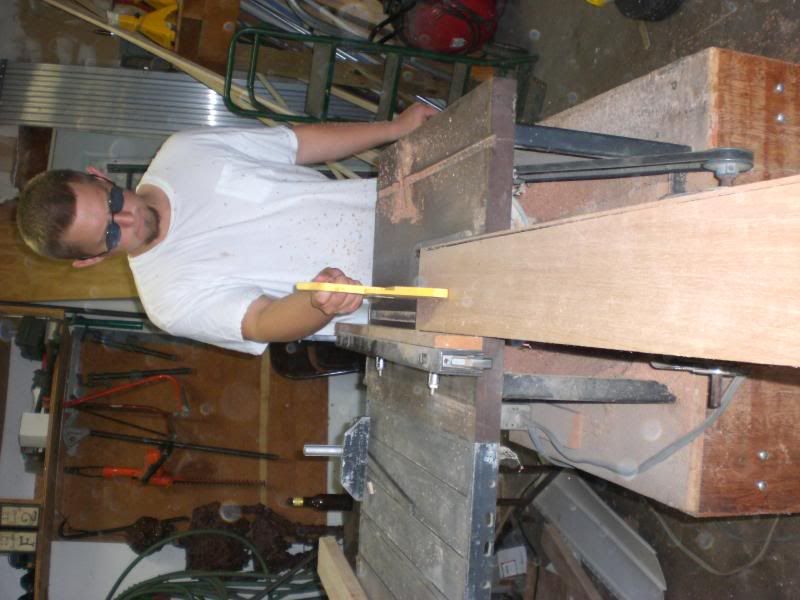
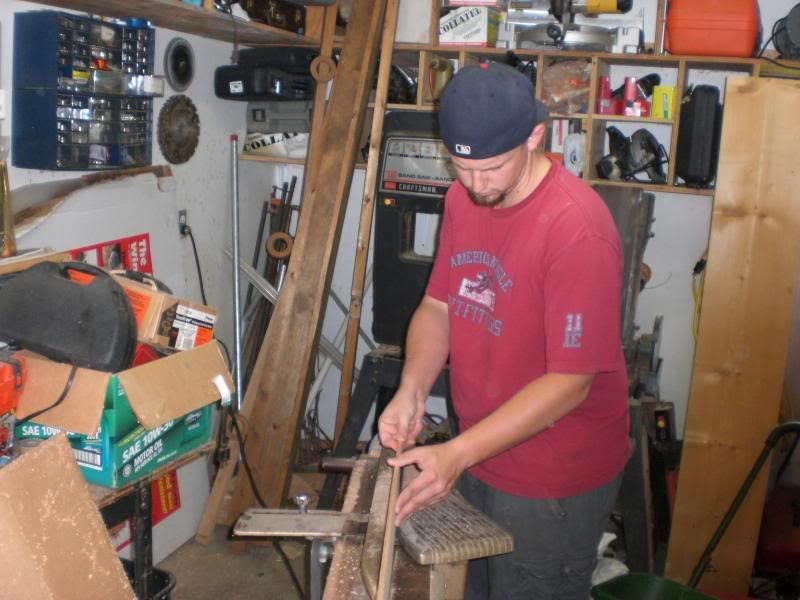
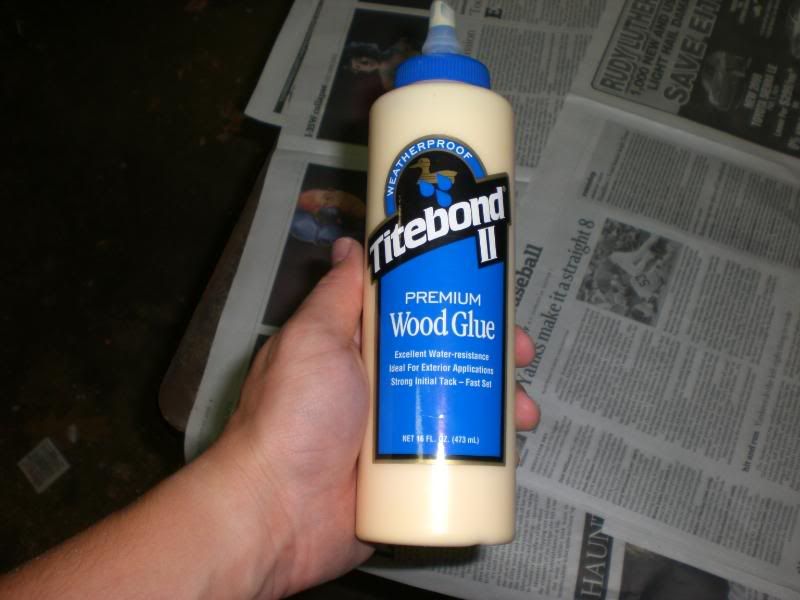
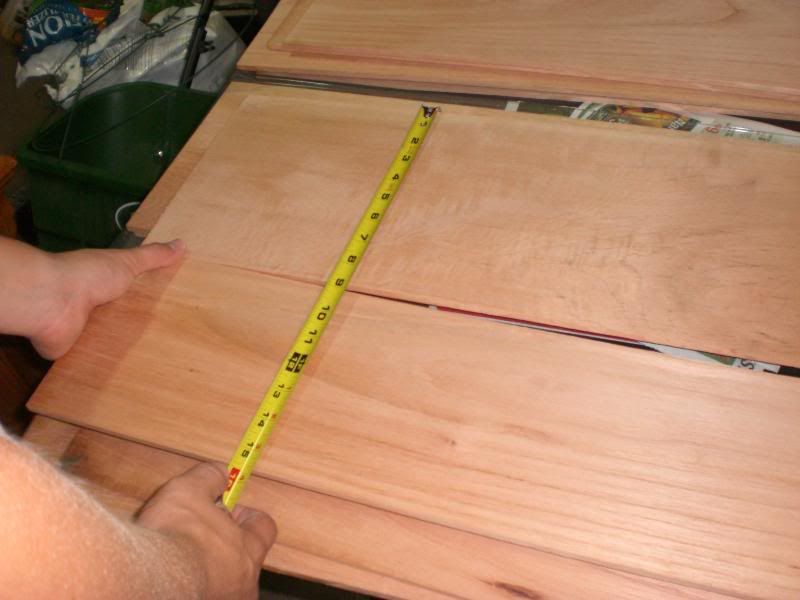
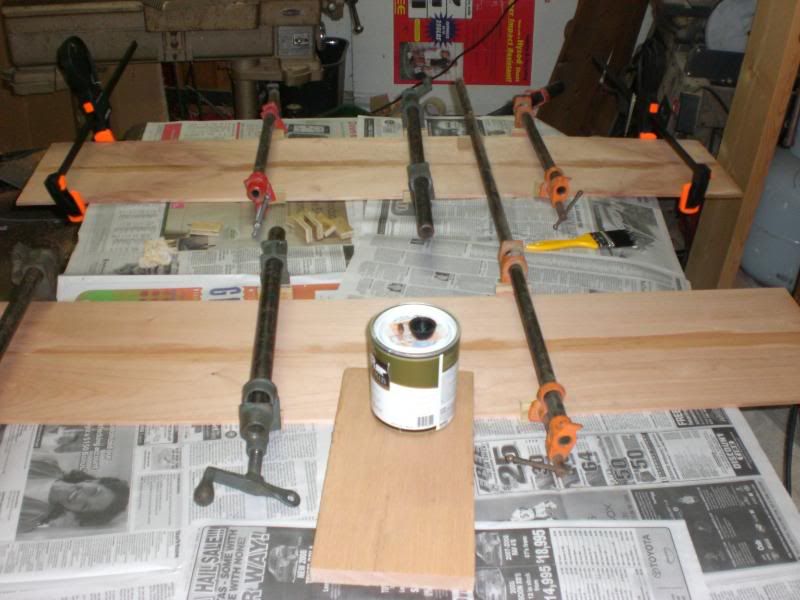
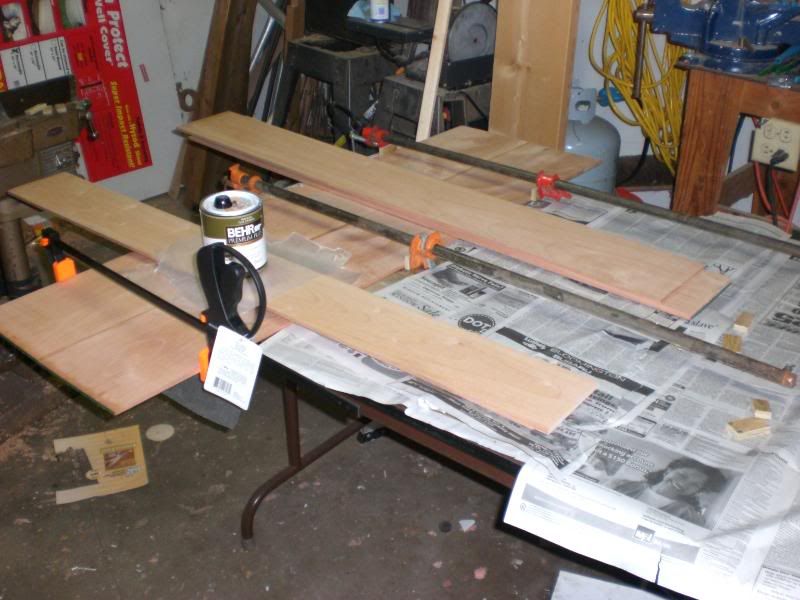
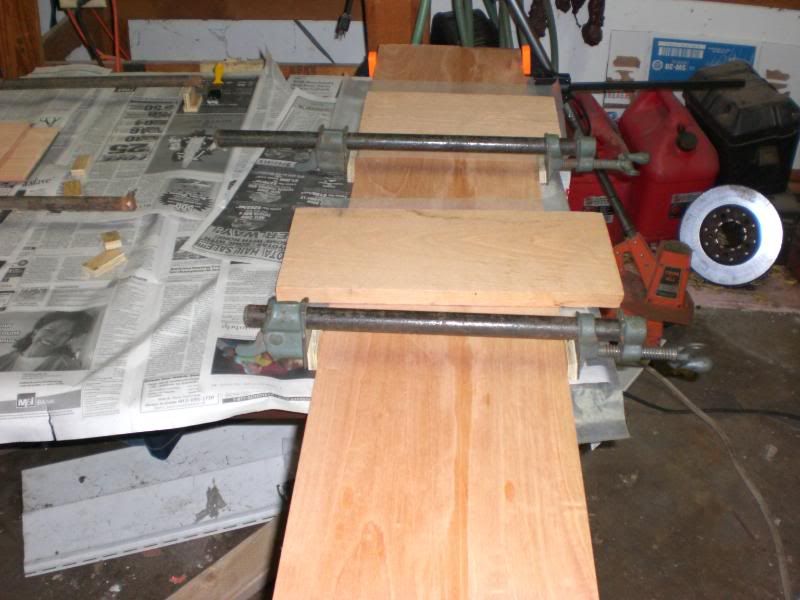
Well, I love the look of Aristocrats so I decided to make a poor man's Aristocrat and convert a China Cabinet into a humidor... I just ordered the Spanish Cedar for it today, so it won't be done for some time, but I got a head start today so I figured I'd share.
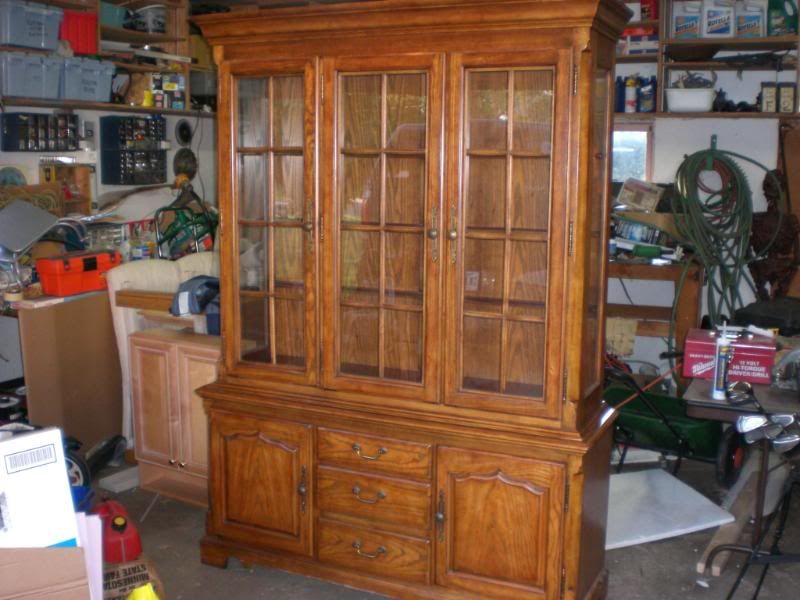
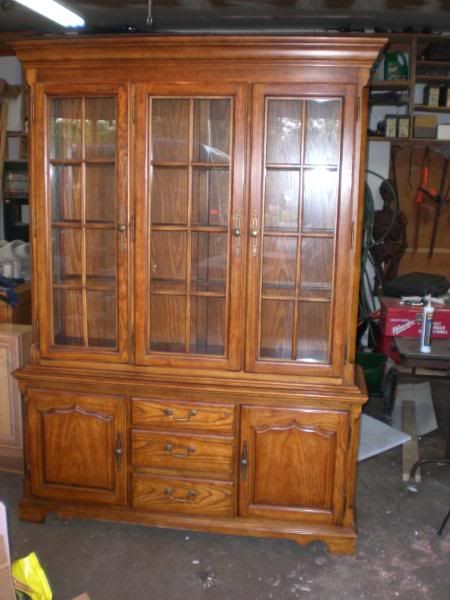
The outside
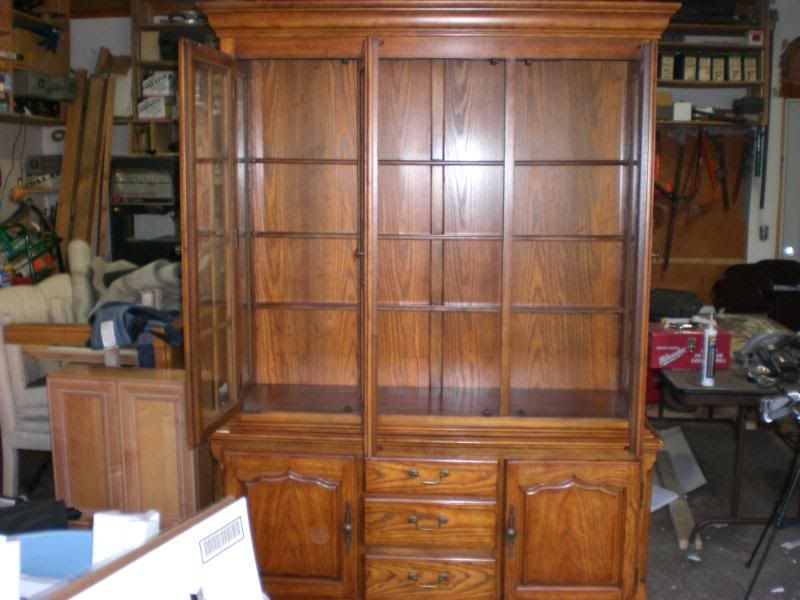
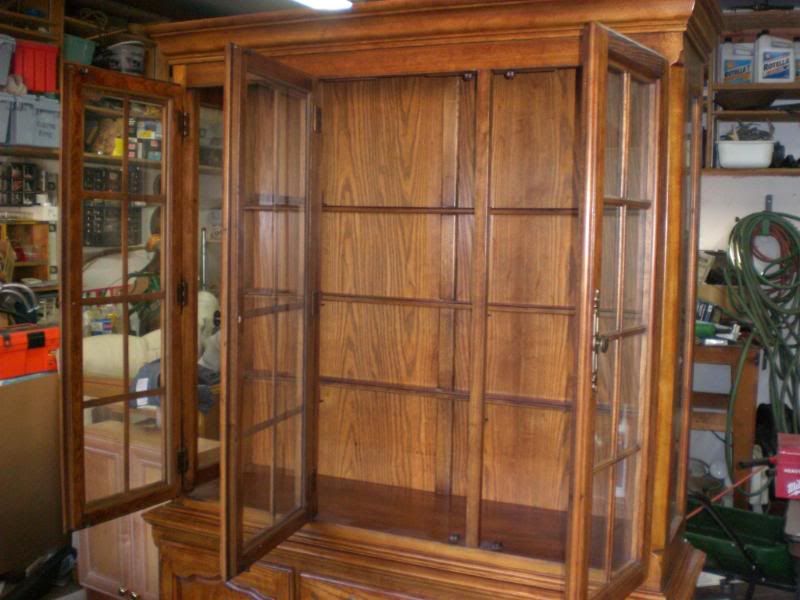
Doors open
Top of the left side

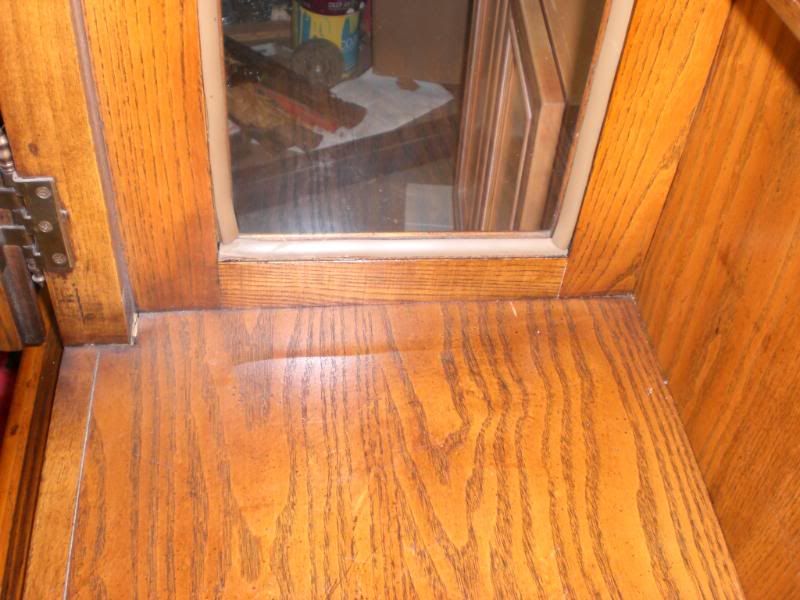
Bottom of the left side
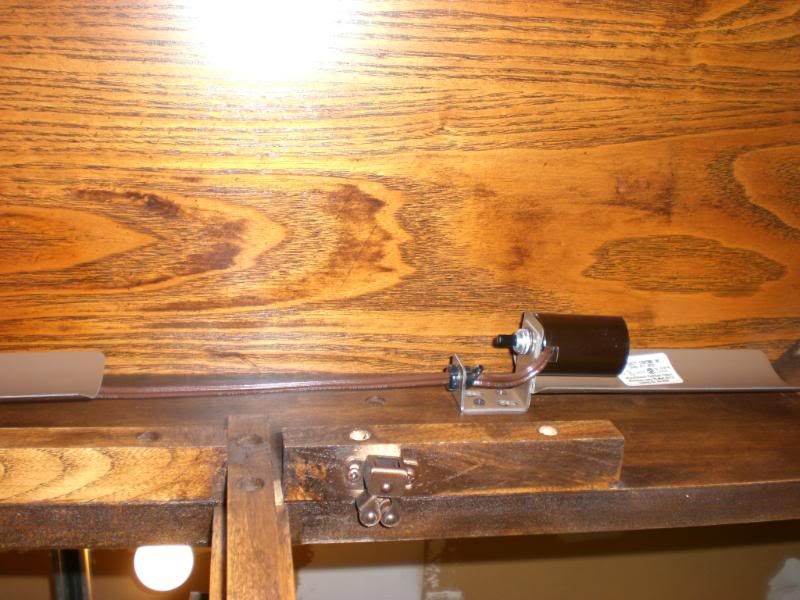
It comes with lights that I will be replacing with LED's as they create less heat to run, I can install them on each shelve level, and they are AWESOME
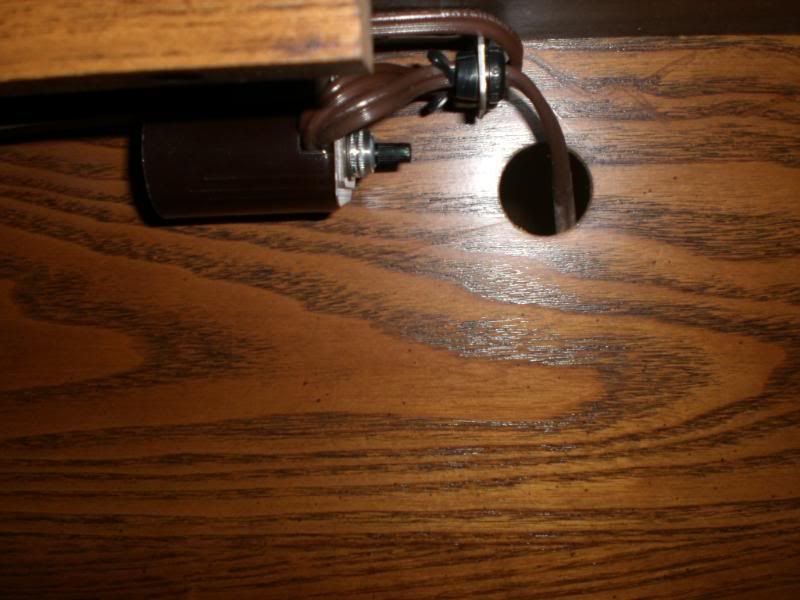
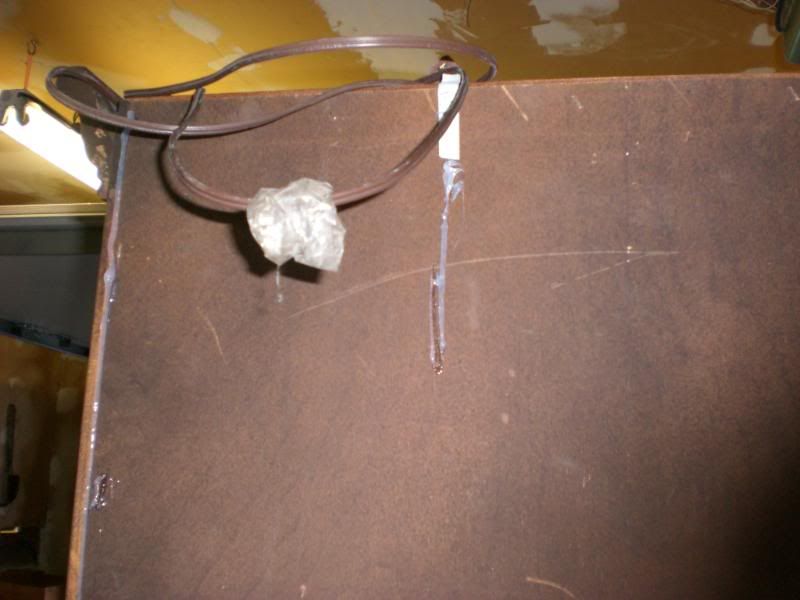
Hole for the lights that still needs to be sealed up
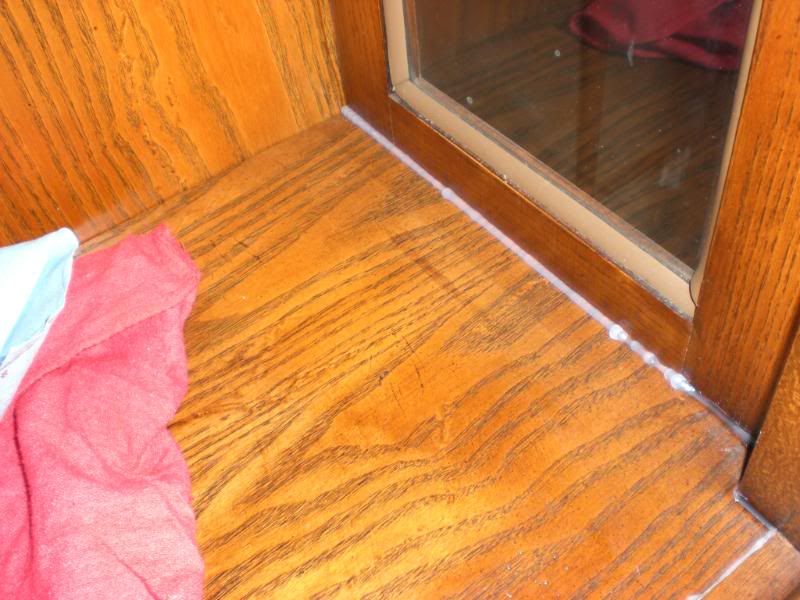
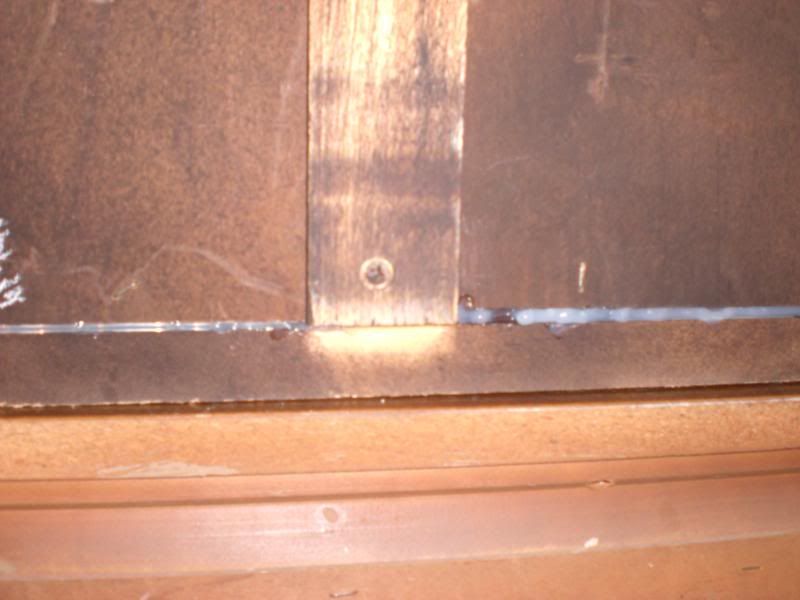
Initial placement of Clear finishing, low smell caulk
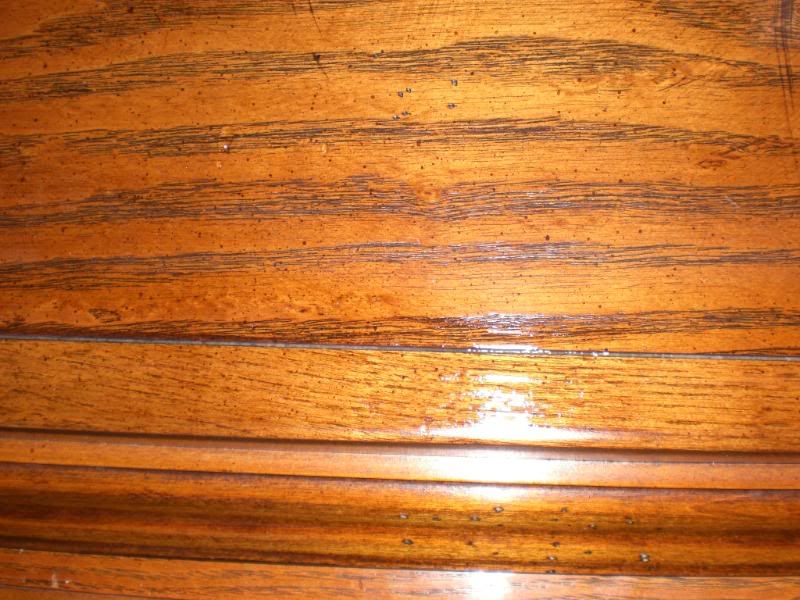
What it looks like when wiped and still wet
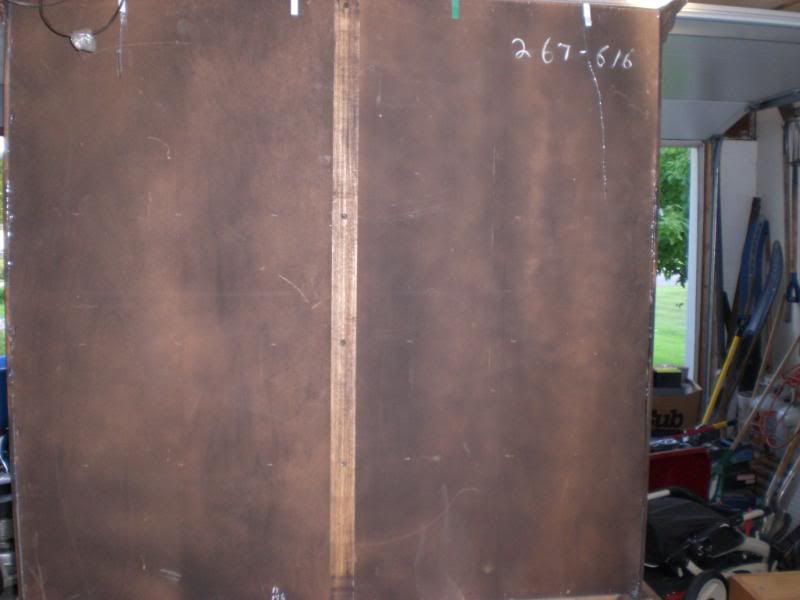
I sealed all of the openings on the inside aside from the glass as I feel it has a descent seal already, however if it fails to maintain humidity, that is the next step to seal, but I feel it is a wast right now. After I was done sealing the inside and wiping away the excess and pushing it down into the cracks I moved to the outside... back mostly.
Don't forget the little cracks in the wood!
And along the bottom.
Like I said this is a work in progress, and I will take more photos as this comes along... when I finish I might link it all into one post for easy reference later on. Any questions / comments / concerns?
The outside
Doors open
Top of the left side
Bottom of the left side
It comes with lights that I will be replacing with LED's as they create less heat to run, I can install them on each shelve level, and they are AWESOME
Hole for the lights that still needs to be sealed up
Initial placement of Clear finishing, low smell caulk
What it looks like when wiped and still wet
I sealed all of the openings on the inside aside from the glass as I feel it has a descent seal already, however if it fails to maintain humidity, that is the next step to seal, but I feel it is a wast right now. After I was done sealing the inside and wiping away the excess and pushing it down into the cracks I moved to the outside... back mostly.
Don't forget the little cracks in the wood!
And along the bottom.
Like I said this is a work in progress, and I will take more photos as this comes along... when I finish I might link it all into one post for easy reference later on. Any questions / comments / concerns?
")