
phiphika1453
Young Ape
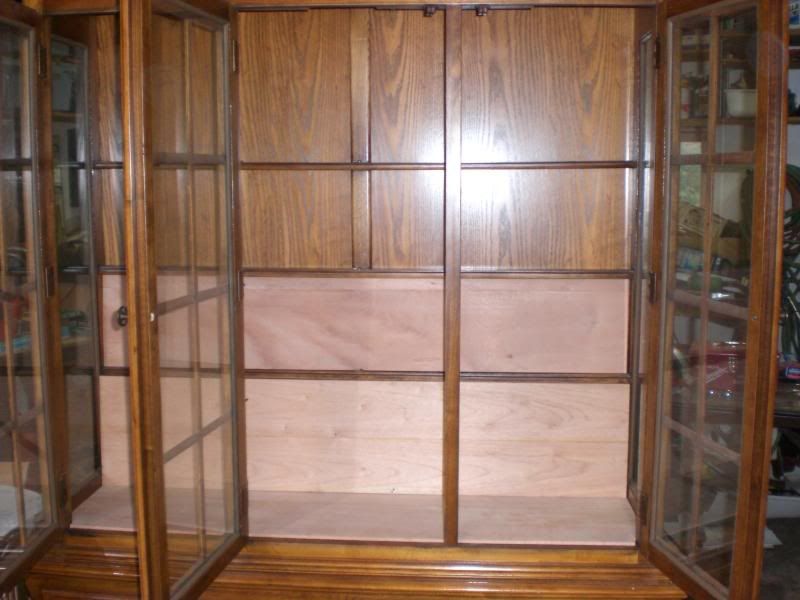
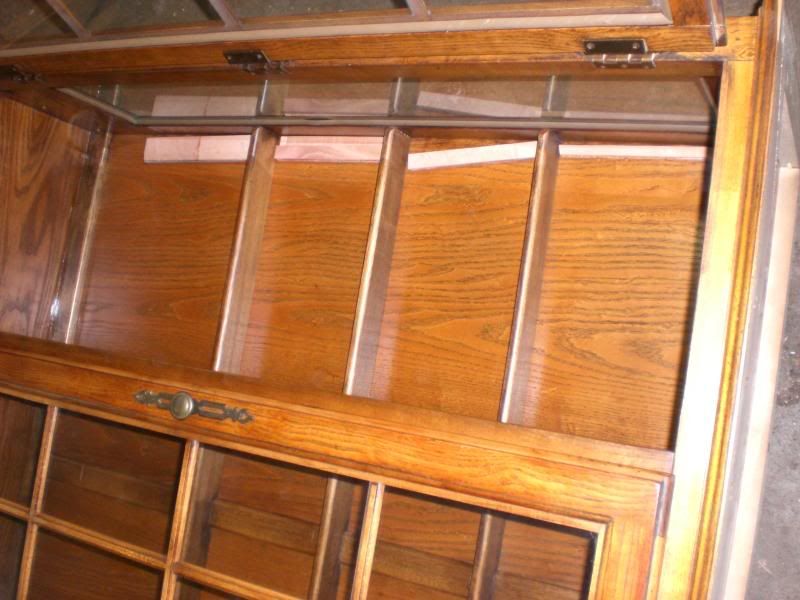
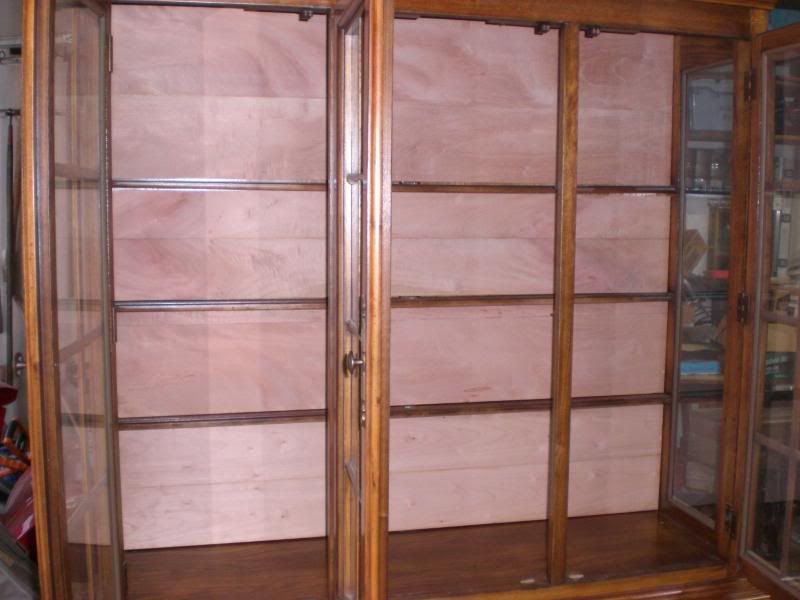
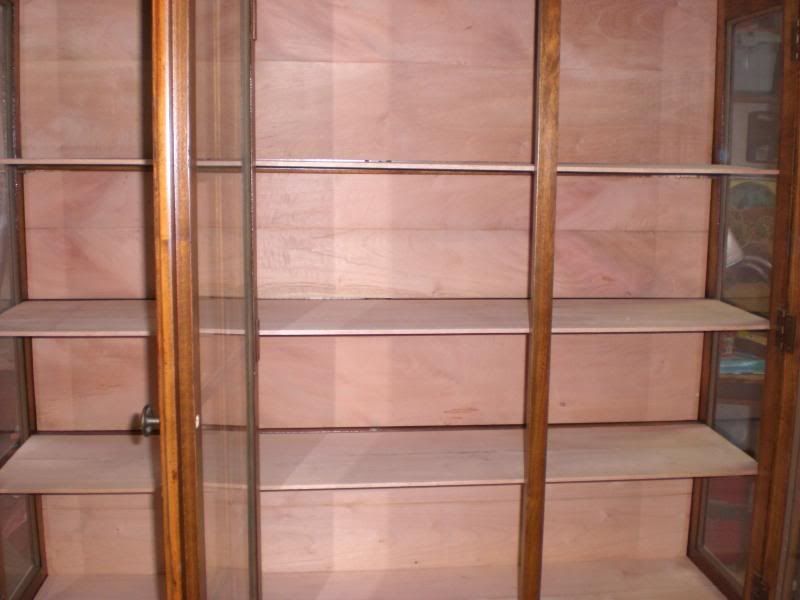
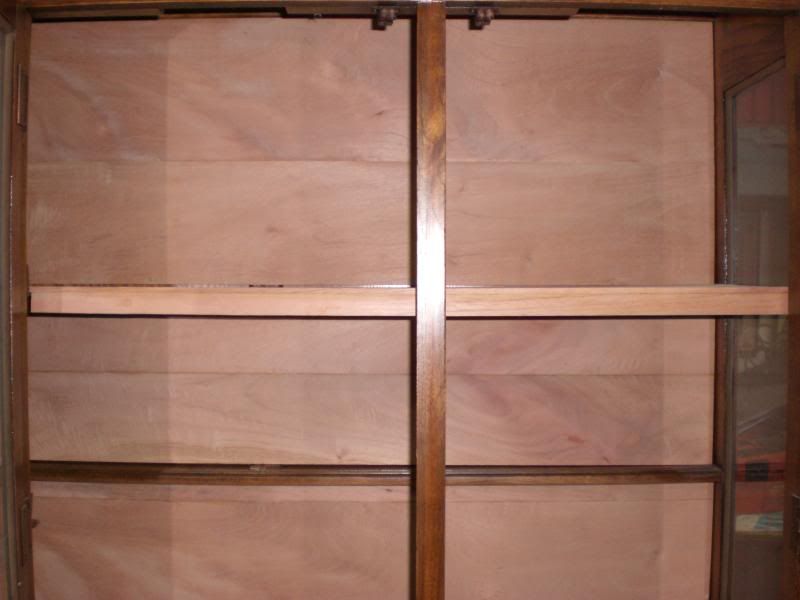
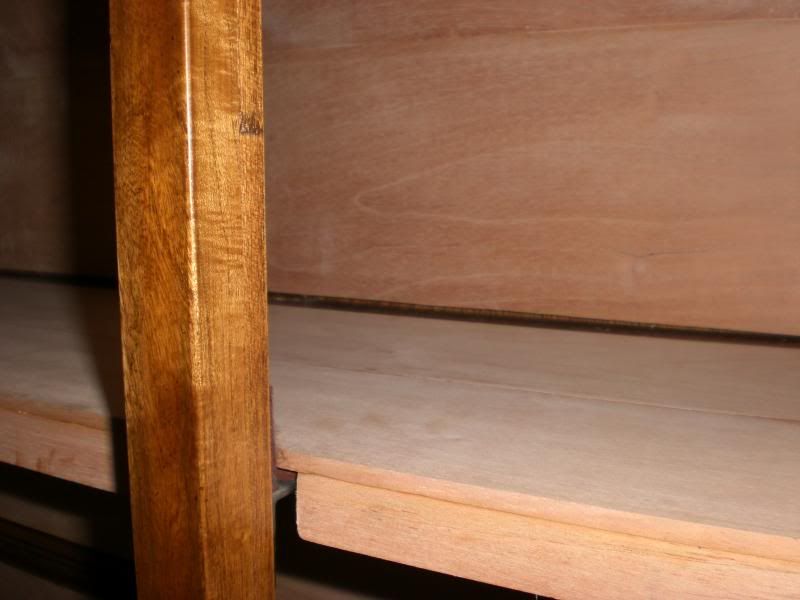
Nice work so far. Are you going to angle the shelves like you would see in a B&M or just lay the shelves flat?
Nice work so far. Are you going to angle the shelves like you would see in a B&M or just lay the shelves flat?
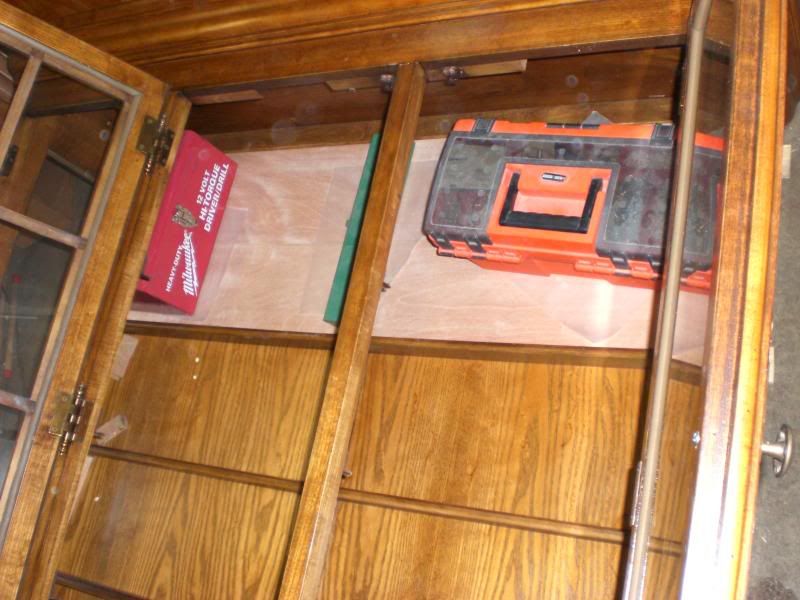
Nice work.:tu Are you going to have the bottom humidified or will that be storage? Here is a link to the humidifier I have in mine.
http://stores.cigarsolutions.com/Categories.bok?category=Avallo+Accumonitors

Many years of practice.... oh and I just started wood working... :tuYou are quite the master of the wood.
You are quite the master of the wood.
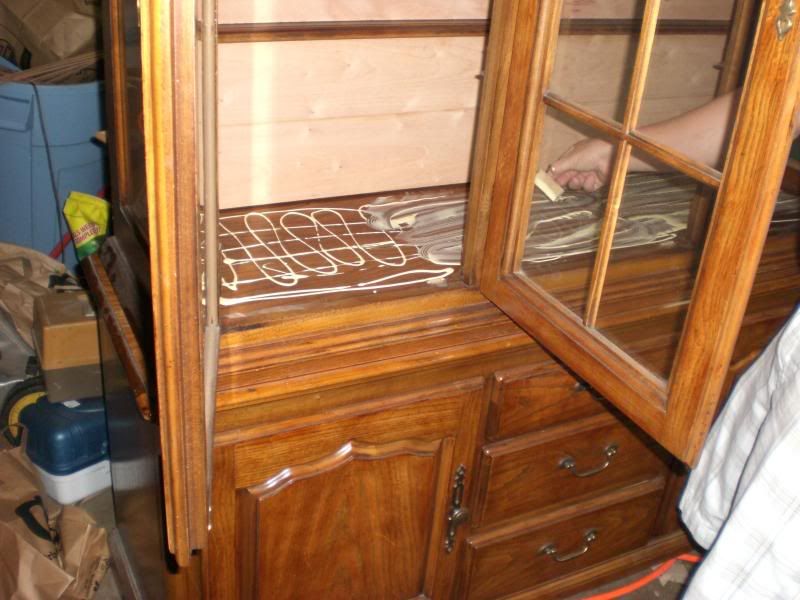
Awesome project bro. I've built several myself for friends and relatives, though I' not in the business even remotely. I truly believe the best looking cabs are those designed (or retrofitted) around china cabinets or curios. I built my personal cab from a project in Fine Woodworking, it was meant to be a curio or gun display cab.
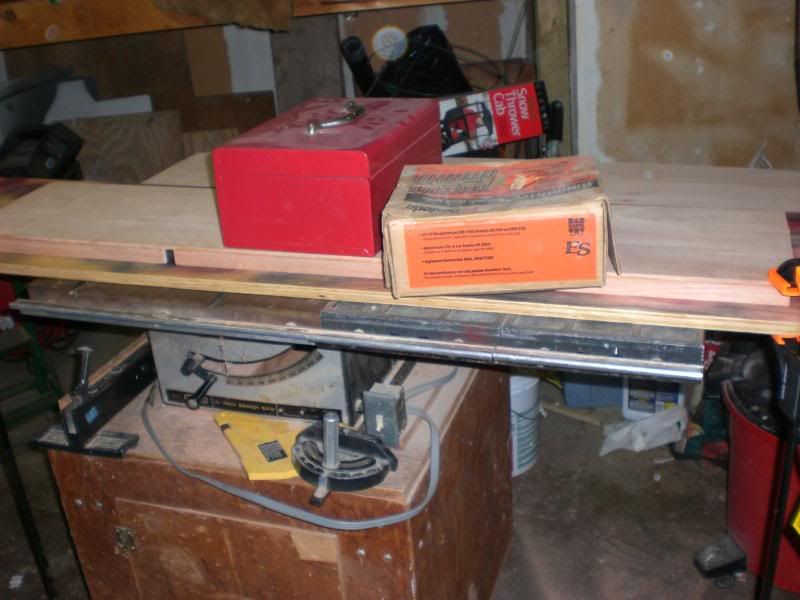
I REALLY dig that old school belt-drive saw. I can't wait to see the final product.
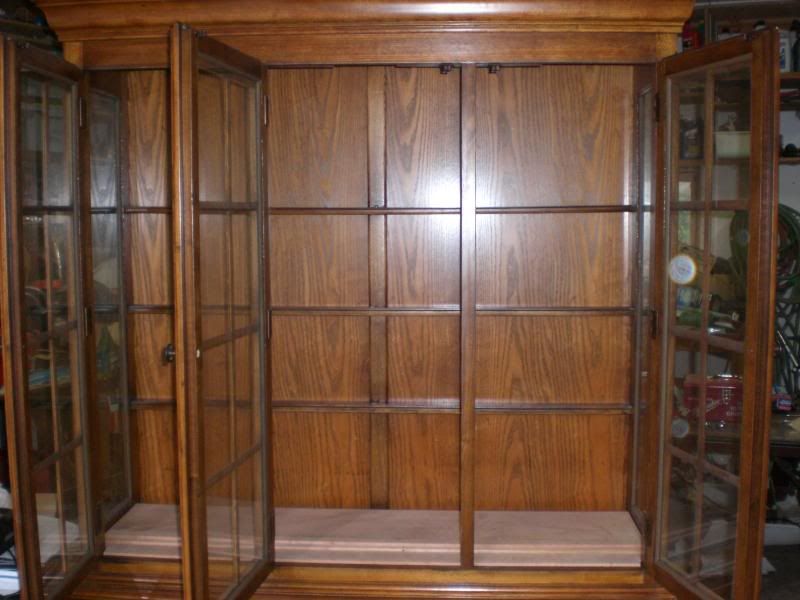
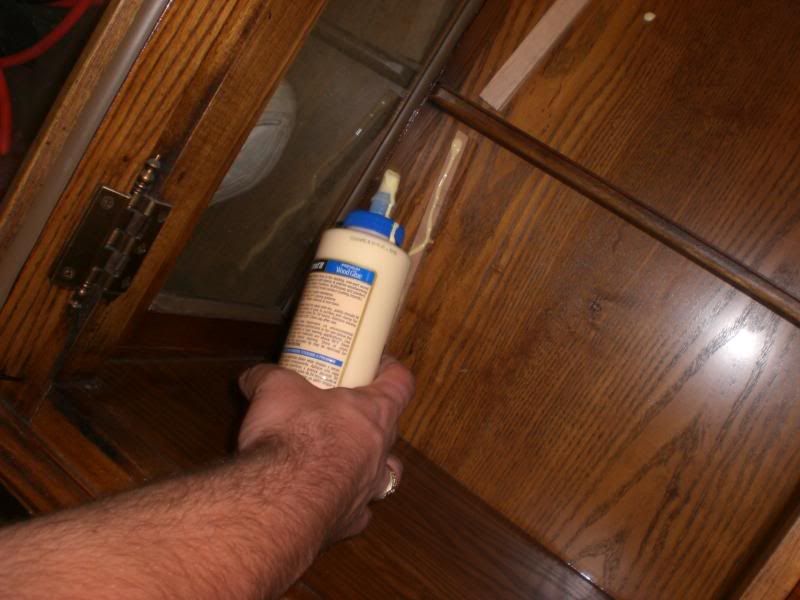
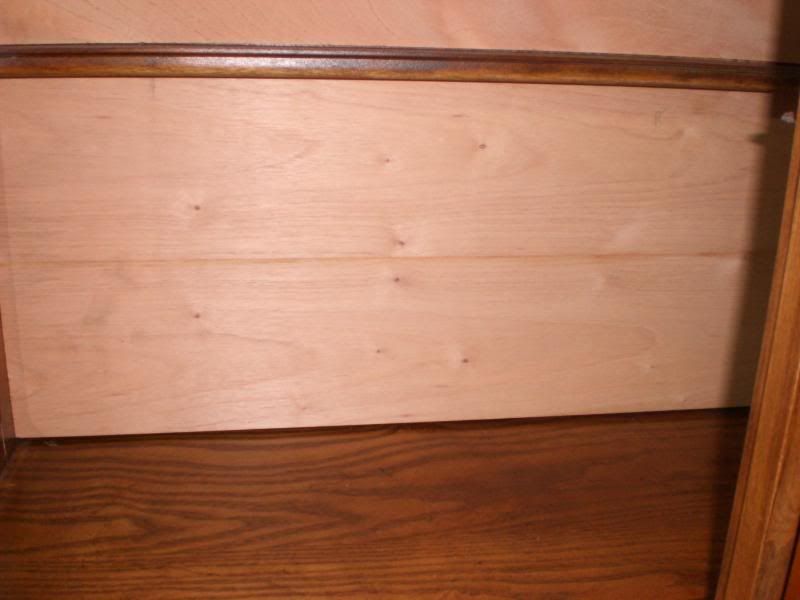
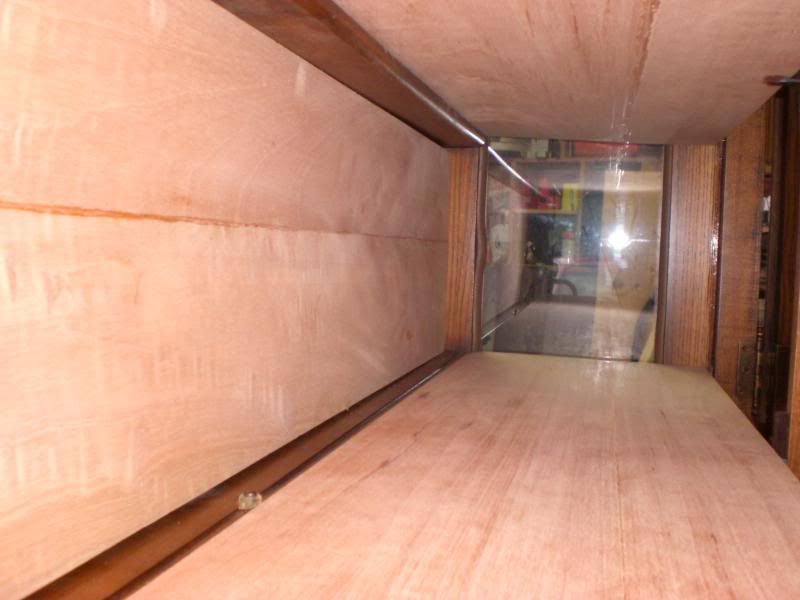
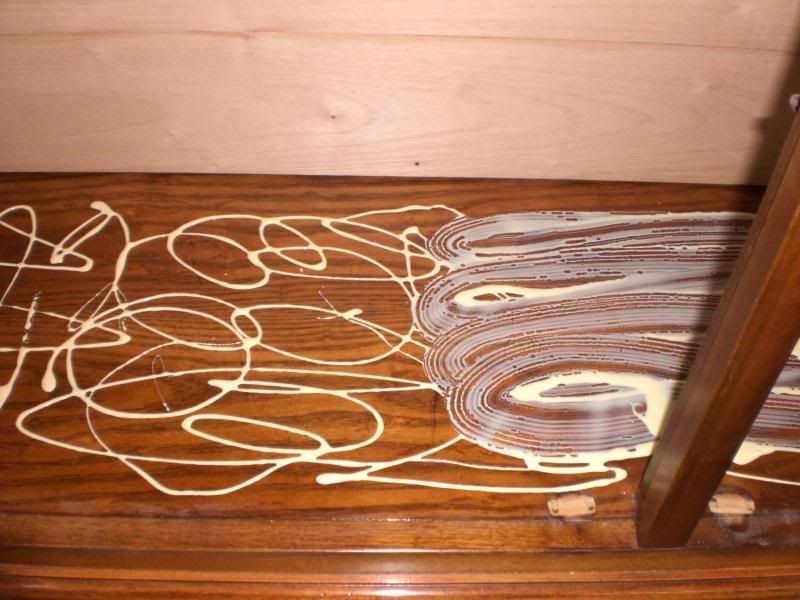
P.S. The sides of the cab are likely already wood glued together, I think you could lose the unappealing caulk. If anything its the glass that would leak - for which I highly recommend ditching the caustic caulk for some fish tank sealer, which is food safe and totally cigar friendly.
P.S.P.S. I would also consider slanting the shelves, it totally changes the look of the unit and really drives home the intent of the unit - displaying cigars/boxes. Its easy to do after the fact, just thought I'd mention it.
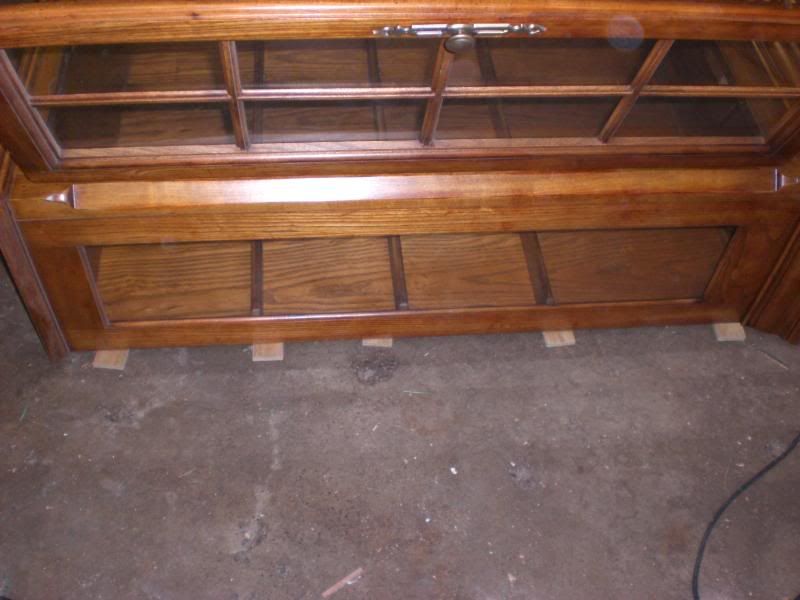
Where did you get the cabinet? It looks really cool and will look even better when finished. How many boxes do you think it will hold?
A lot of folks ask about where to buy spanish cedar, where did you source yours?
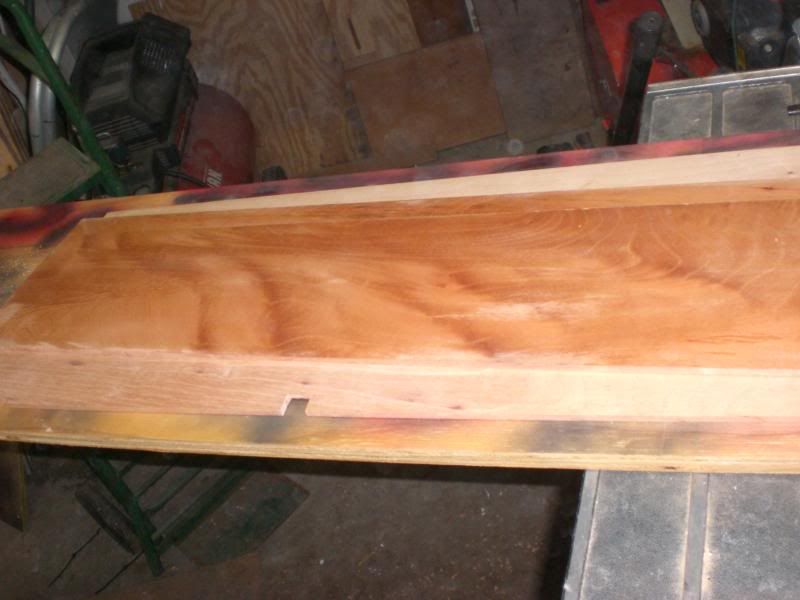
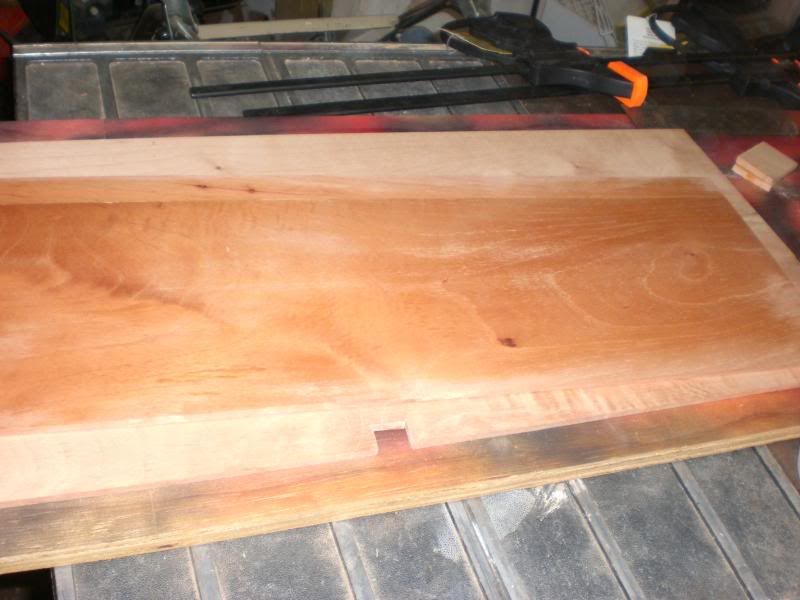
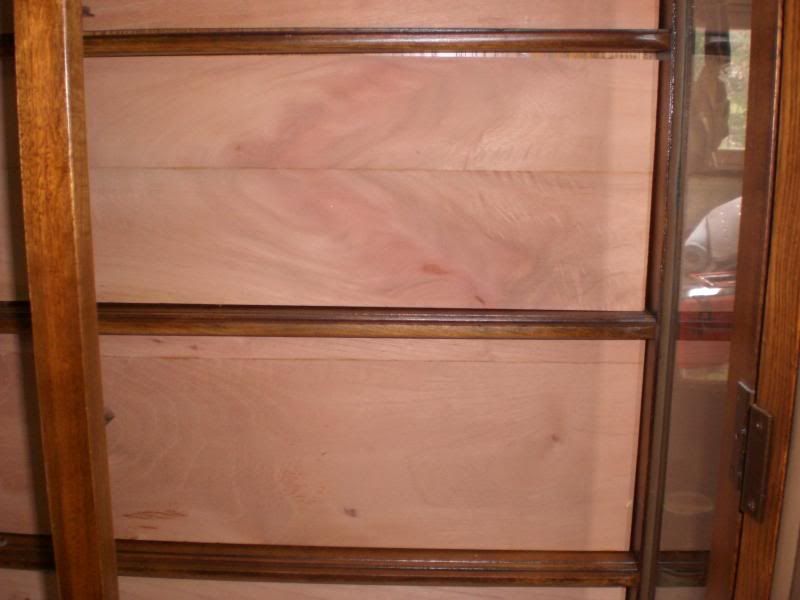

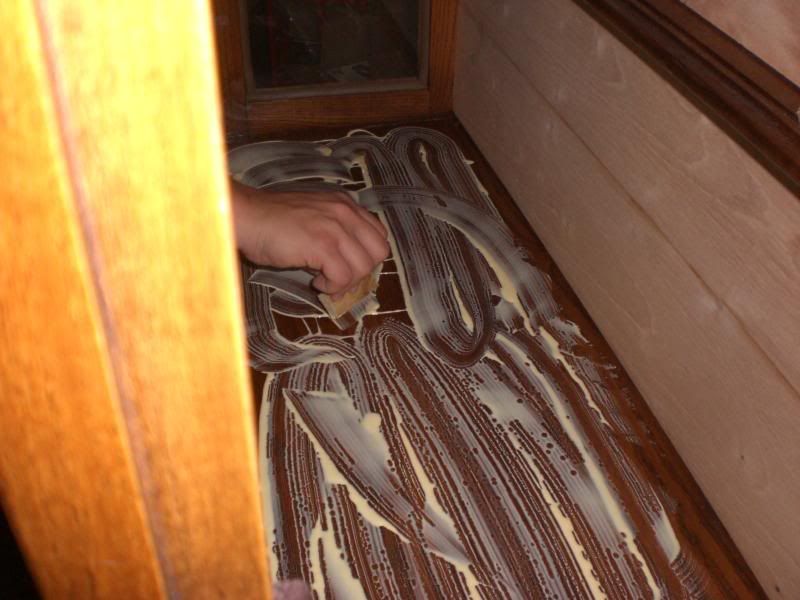
This looks cool but I'm curious how you're planning to battle wood movement? Seasoned, isn't that cedar going to expand like crazy?